
Why should I take this course?
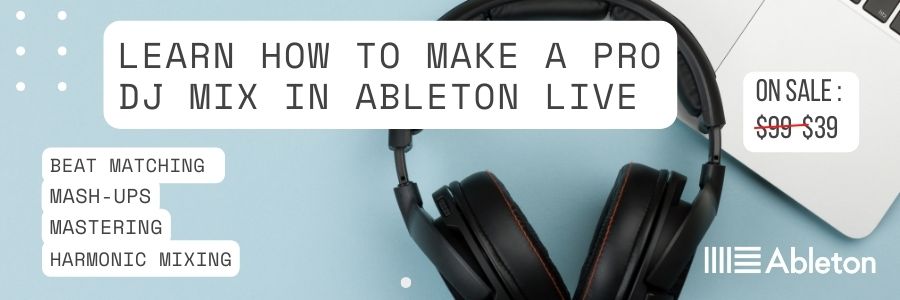
This course will teach both beginners and more experienced DJs how to pre-record a professional studio quality DJ mix using Ableton Live and additional key detection software. (“MIxed In Key” software is recommended but alternatives like “Traktor”, “Serato” and “Rekordbox” are suitable.)
We will cover:
- Selecting and organizing music
- Mix transitions (including harmonic mixing)
- Programming your mixtape
- Making alterations to the mix
- Mastering
By the end of the course, students will be able to programme a professional, industry-standard DJ mix to host online and share with club promoters and radio stations.
Students will also receive a case study in the bonus material which shows the process of recording a music mix for a real-world client.